In the Sierra Modem:
1. Log into AceManager.
2. Go to LAN-> Ethernet and change the DHCP start and end range to 192.168.13.100. Click Apply.
3. Go to Security->Port Forwarding, Change the DMZ to Manual and set the IP to 192.168.13.100. Click Apply.
4. Reboot the modem.
In the Static IP Controller:
Set a static IP with the following characteristics:
IP: 192.168.13.100
Subnet: 255.255.255.0
Default Gateway: 192.168.13.31
To verify that the modem can "talk" to the controller:
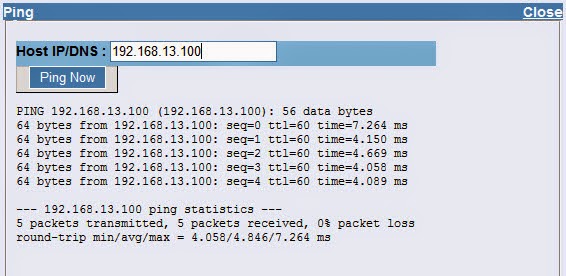
- In AceManager, go to Admin->Advanced->Ping.
- Enter the Controller IP - 192.168.13.100 and click Ping Now. If you get replies back, then the setup is successful.

Call or email us if you have any questions/issues.
Related Posts
To verify that the modem can "talk" to the controller:
- In AceManager, go to Admin->Advanced->Ping.
- Enter the Controller IP - 192.168.13.100 and click Ping Now. If you get replies back, then the setup is successful.

Call or email us if you have any questions/issues.
Related Posts
- Configuring Routing and Port Forwarding in a Sierra Wireless Modem
- Configure IP Passthrough on a Sierra Wireless Modem
Links of Interest


